http://www.youtube.com/watch?v=0NcyPkASKUI
]]>
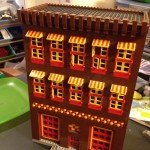
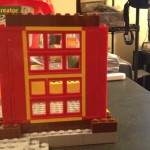
 Another of my modular buildings was disassembled this afternoon. ĀThis is another building that has been around for a while. The upper part of the building is interesting but nothing special other than it features some unusual parts in rare colors.
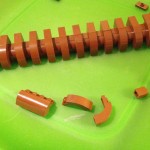
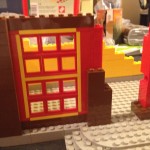
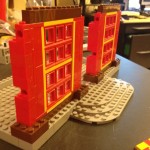
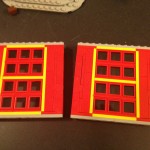
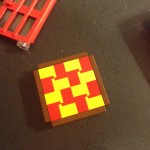
 The first floor of the building has some 12 pane windows based on the 2×2 window. ĀAs I took it apart I realized how much time I had spent building those windows. ĀTo get the yellow band effect around each group of 6 windows required a lot of SNOT (studs not on top) building. ĀIt took a lot of trial and error to get them to work correctly. ĀBefore I take the windows apart I think I will capture them in ML-CAD.
 ]]>
]]>[youtube=https://www.youtube.com/watch?v=fuOsQSYWhiA]
]]>
But times change and Cary has phased out of the LEGO hobby and TrackDraw, while it still works, hasn’t been updated in years.Ā At one point I could build it from source myself but about a year ago I tried to build it and was unable to.Ā So the version I have running is from the RailBricks site and includes some custom parts in the library.Ā TrackDraw still has some oddities and will crash from time to time.
Recently while working on the 2010 LEGOPalooza track plan I couldn’t get text to work correctly so on a whim I decided to try BlueBrick.Ā I had looked at BlueBrick about a year ago and dismissed it as it had some real limitations.Ā However when I looked at it again, most of my issues had been addressed and it works pretty well.
I have not tried to create my own parts yet but probably will soon but I do like the layering model in particular.Ā I recaptured the NCLTC layout I am doing for 2010 LEGOPalooza in BlueBrick and did a couple more iterations using it.Ā I really wish the layout area had scroll bars and I really miss the TrackDraw feature to add a bunch of elements using the numbers on the keyboard followed by clicking on the part you want to place but other than that, I don’t have any real complaints.
]]>